


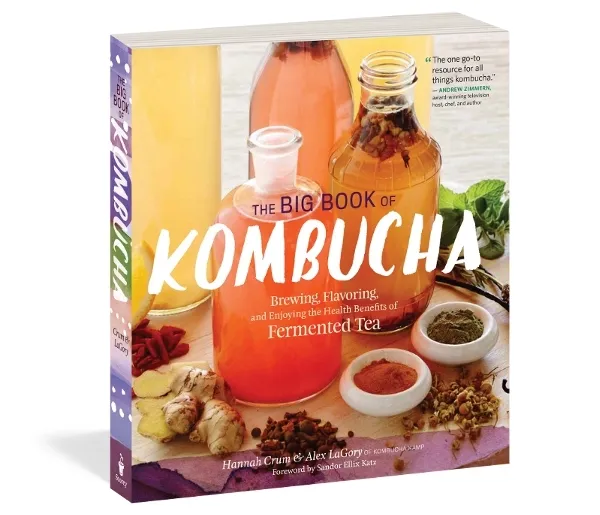

Features Exclusively hand blended at Kombucha Kamp - 3 green teas Each 3.5oz pouch makes 12-16 gallons of Kombucha or…


🌿 Bubbles Membership $8/month or $80/year Includes access to the current foundational module inside Learning Dashboard, beginning with the Aries…
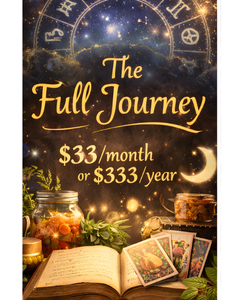

🌙 Full Journey Membership $33/month $333/year (2 months free equivalent) The complete Ferment with the Stars curriculum. Full access to…
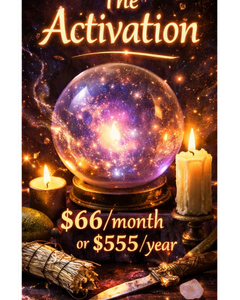

🔥 Activation Tier Membership $66/month $555/year (Save $237 annually) Everything included in Full Journey, plus access to the monthly Activation…
 family-owned
 over 5,000
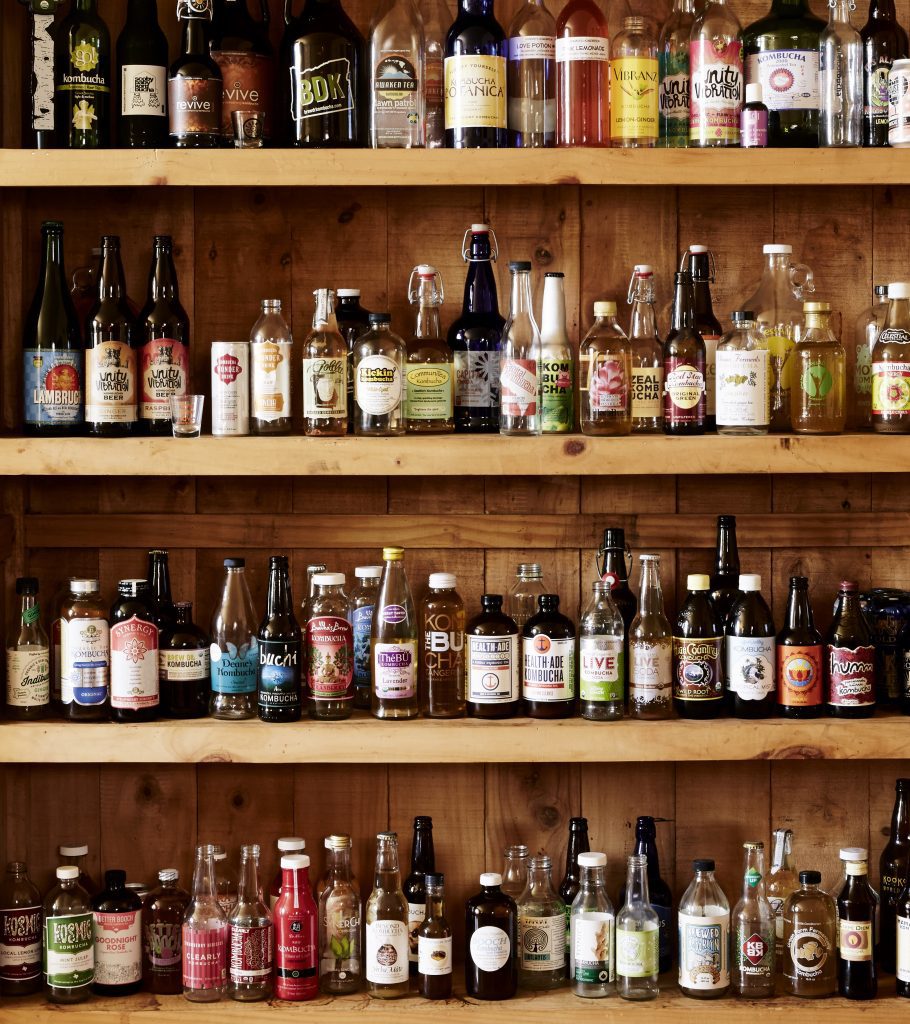
  100,000+ happy
  exceptional
  only fresh living
  lots of free articles,